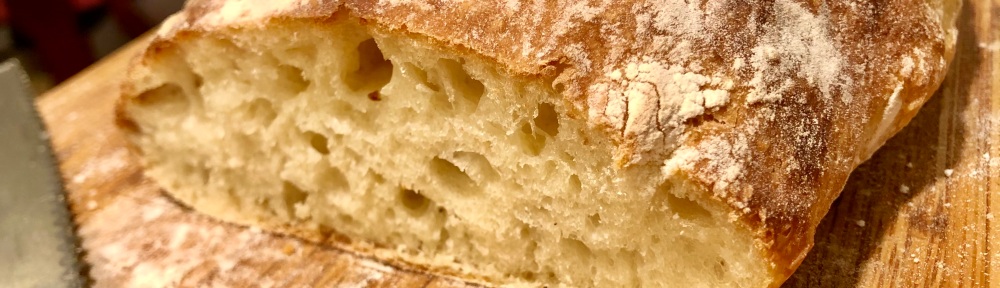
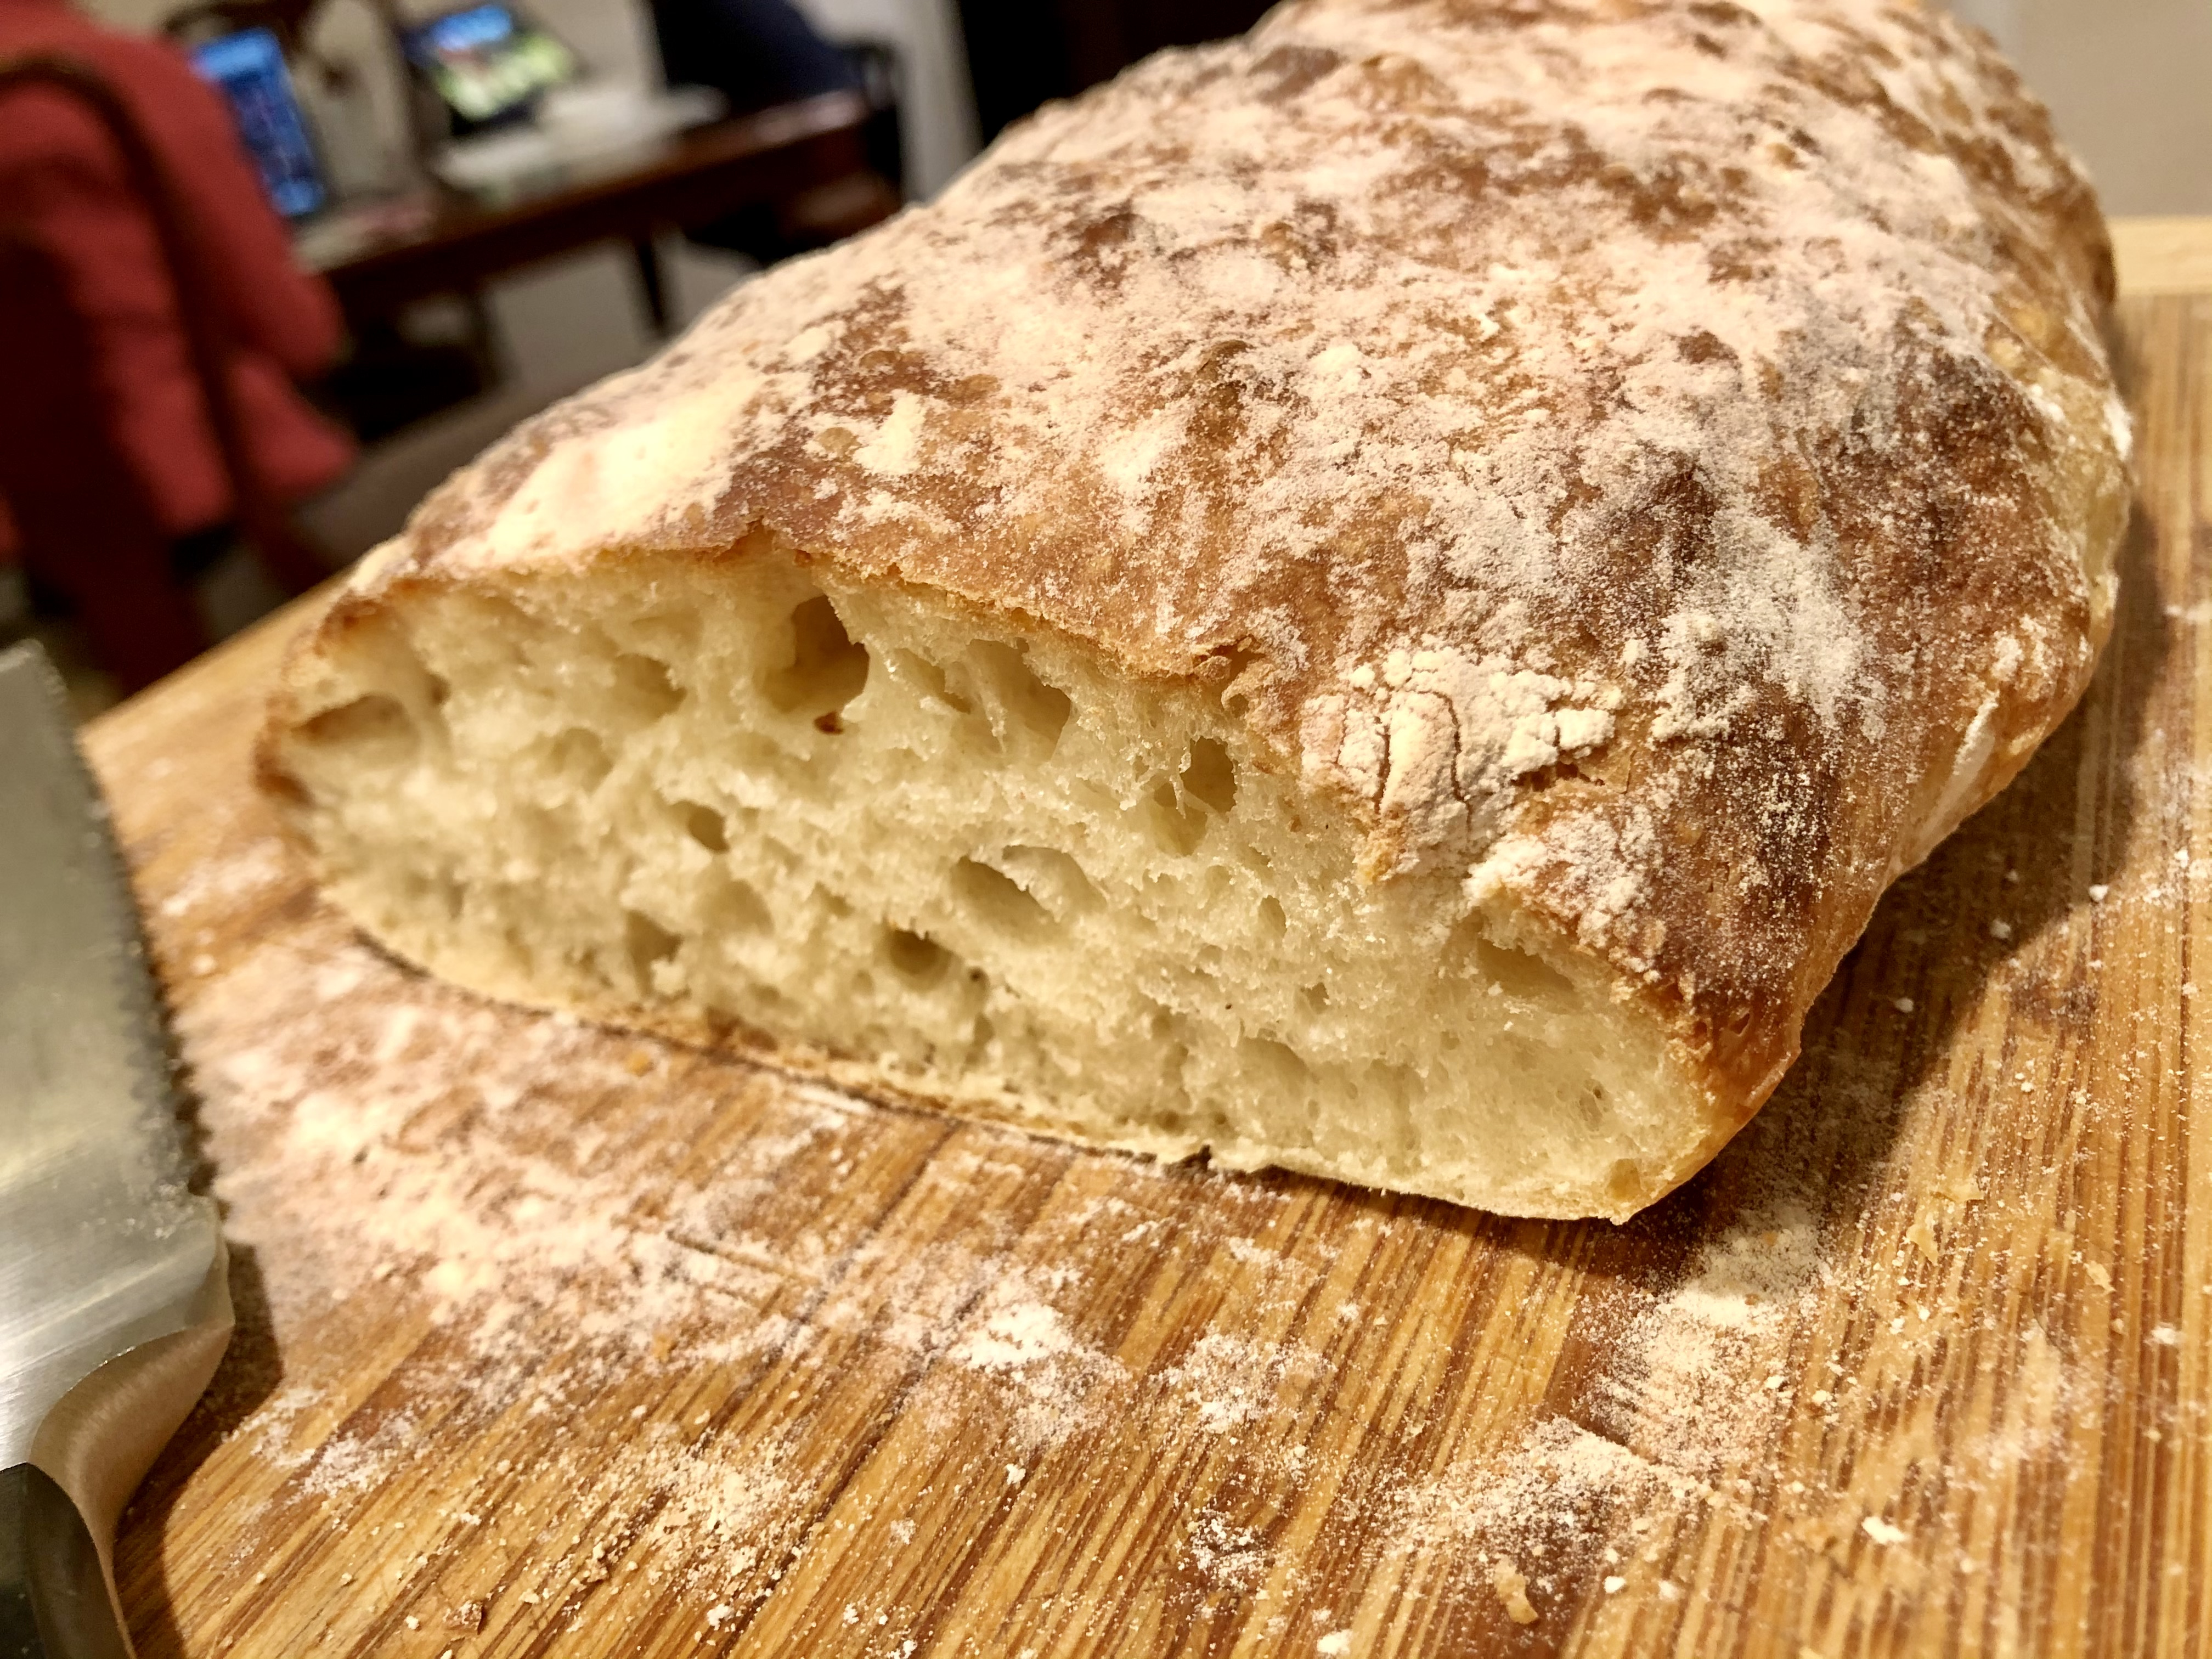
This is officially the best bread I’ve ever made — an ideal accompaniment for a meal. And, fresh out of the oven, you may just want to gobble the whole loaf down straight. The key here is using a good high-gluten bread flour, like an Italian type-01 flour. I got this from a new favorite website: An Italian In My Kitchen.
But first, a word about ciabatta. This bread may look and taste like a traditional Italian loaf. And perhaps a form of ciabatta was consumed generations ago. But ciabatta as we know it today was reportedly invented in July 1982 by a baker named Arnaldo Cavallari in Adria, near Venice. According to an interview in The Guardian, Mr. Cavallari and some colleagues were horrified by the growing popularity of French baguettes as a sandwich bread across Italy and debated what to do about it. Cavallari came up with a new type of loaf, and he registered it under the name “ciabatta polesana” after his home region, Polesine in northeastern Italy. The name ciabatta — meaning “slipper” in Italian — refers to the flattened, elongated shape of the loaf. As he explained:
‘I used a very soft, wet dough, with a lot of water – very watery. It’s the best bread, of course. All my breads are made with natural things, so it tastes good. I am touching the sky I am so happy that it is so good, that it has done so well everywhere. But when I had invented it, I looked at it and I thought, ‘What can I call it?’ Then I thought that it is similar to a slipper, so I thought ‘ciabatta’. For copyright, I registered the name ciabatta along with Polesano, the name of the area where I work. In 1989, I registered the name ‘Ciabatta Italiana’.
Proper Italian ciabatta is usually made using a biga, or starter, that ferments for several hours. This particular recipe is an accelerated version that requires no kneading as such, and is ready within two hours.
- 1 cup (240 ml) water
- 1/2 teaspoon honey or granulated sugar
- 2 teaspoons (1 envelope) dry yeast
- 2 cups plus 3 tablespoons (260 grams) bread flour
- 1 teaspoon salt
- In a small bowl, combine 1/4 cup of the water with honey and yeast. Let it sit 5 minutes until the yeast begins to foam.
- Reserve 3 tablespoons of flour. Place the rest In a large bowl. Add the yeast mixture and remaining water. Mix together, then add the salt and continue mixing. The dough will be almost as fluid as a pancake batter. Sprinkle the top with 1 1/2 tablespoons of the reserved flour.
- Cover the bowl with a tea towel, place in a warm, draft-free area and let it rise for 90 minutes.
- Pre-heat oven to 425ºF (220ºC). Place a ramekin of water inside the oven to release moisture during the baking.
- Line a baking sheet with parchment paper, and sprinkle it with the remaining 1 1/2 tablespoons of flour. Carefully transfer the dough from the bowl to the prepared baking sheet, leaving the floured top of the dough on top. With a spatula, form the dough into an oblong shape.
- Bake for approximately 20-25 minutes or until the crust is well browned and crispy. Let cool and serve.
